Amazon S3 (Amazon Simple Storage Service) is an object storage service from Amazon Web services. You can create buckets in S3 to store large amount of data with 99.999999999% (11 9’s) of durability. Read more about AWS S3 here
G8keeper integrates with AWS S3 to provide seamless way to store large backups on the cloud at very cheap rates. Also with AWS S3 you have flexibility to store backups in the geographical location that suites you.
This article will guide you on how to configure AWS S3 with G8keeper for storing backups.
- For using AWS S3, you need to have a working AWS account. Create one here
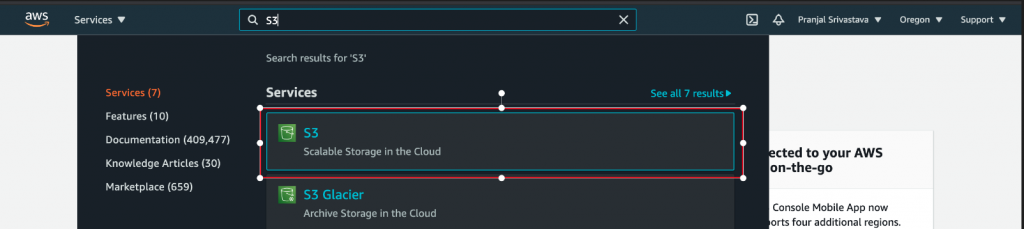
- Once you are logged into your AWS account with admin access, navigate to AWS S3
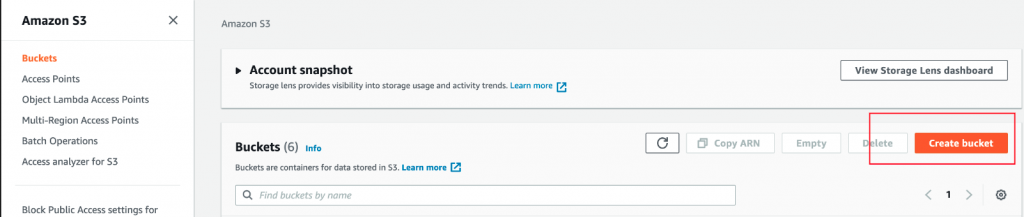
3. On the S3 page, click “Create Bucket” button to start creating an S3 bucket.
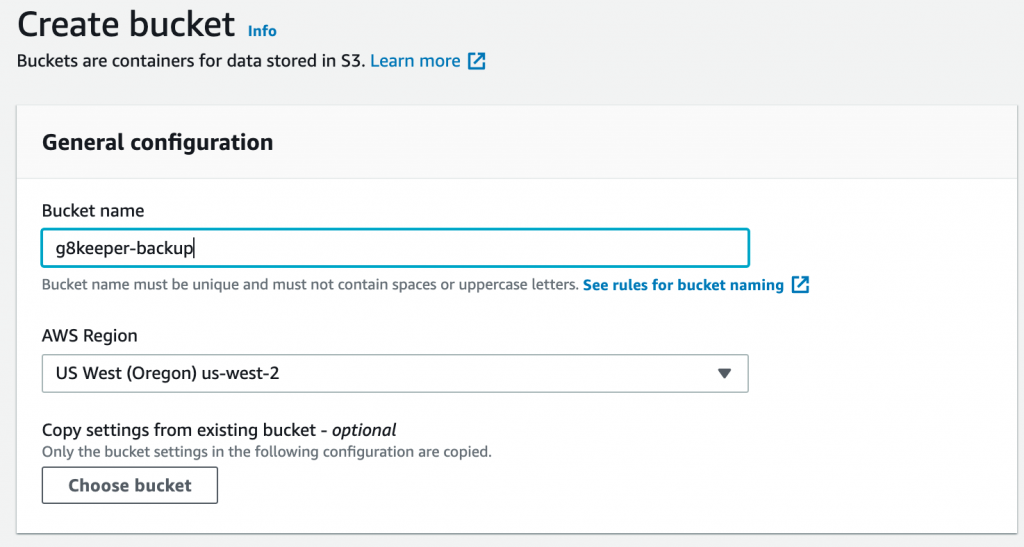
4. On the bucket creation screen, you need to add “Bucket name”, for this field specify a unique DNS-compatible name for your bucket.
Note a few things to note when creating a new bucket name:
- The bucket name will need to be unique across all existing buckets in Amazon S3 across all AWS accounts.
- Once the bucket is created, you cannot change its name.
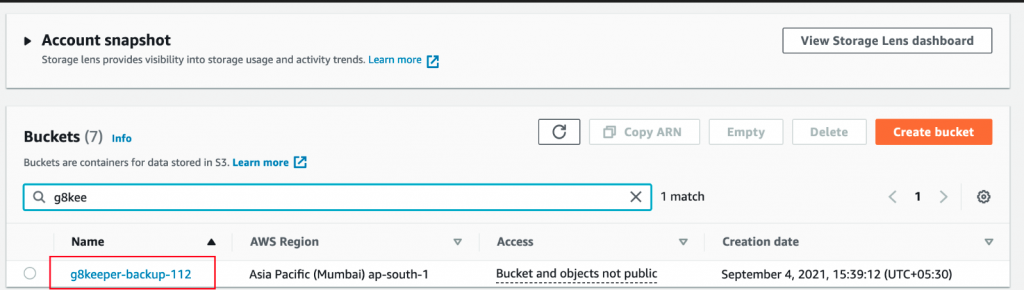
- Choose a bucket name that is relevant for the purpose so that in future you can quickly recognise what you have stored in this bucket. For example we will name the bucket as “g8keeper-backup-112”
In the “Region” field, indicate the desired region in which the basket will be created. With this you can store the backup in your preferred geographical location. Please note, price for S3 varies based on location/region
There are a few more security related settings on the page, you may need to go through them to selectively enable / disable the same. However, ensure that all public access on the bucket is blocked (default option), as you are going to store backups in this bucket.
Once ready click on the “Create” button.
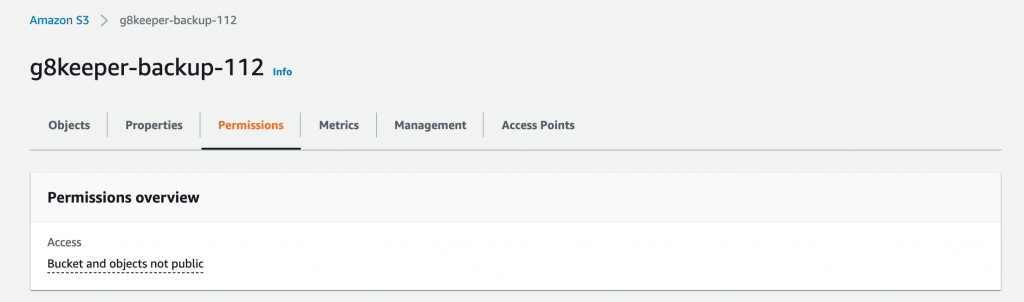
5. In next step we need to configure the access rights to the bucket so that G8keeper can upload backups to this bucket. So we select the previously created bucket.
And navigate to “Permissions” section
6. On the “Permission” tab we navigate to Cross-origin resource sharing (CORS) section and enter these details there.

Now we need to create a policy to access the previously created S3 bucket we created above.
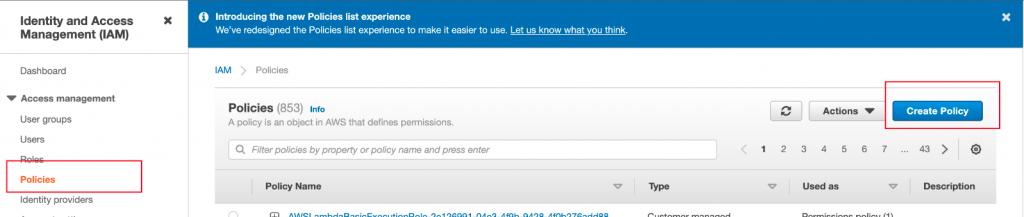
7. On the top search bar type “iam” and click on the IAM item that appears in the dropdown

8. Now navigate to “Policies” on the left hand menu and click “Create Policy” button
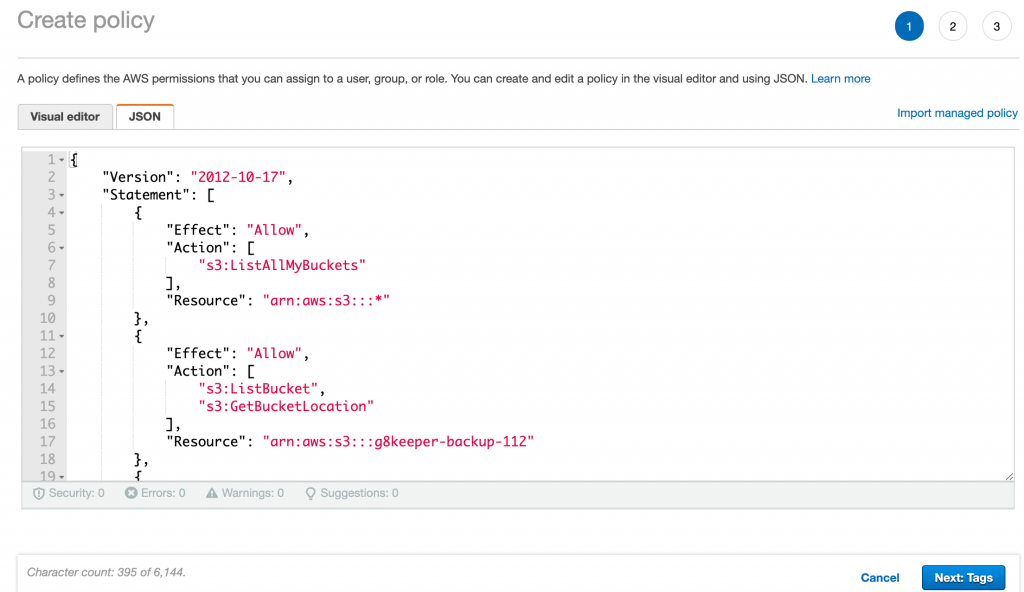
9. Navigate to JSON Tab and add these details in the section. Please note, since our bucket is named “g8keeper-backup-112” we have added this in the file. You need to replace this with your own bucket name.
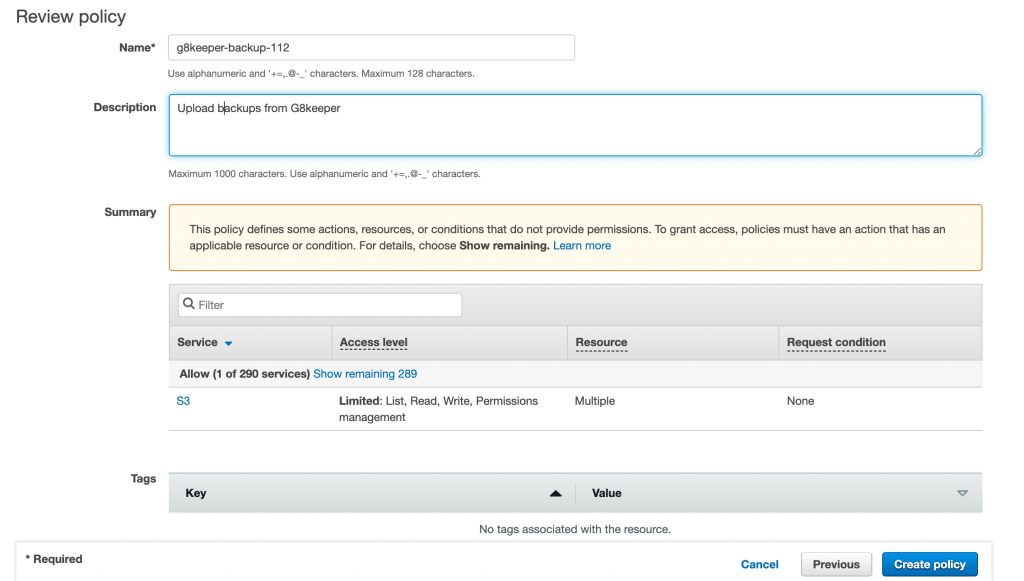
10. Once done click “Next:Tags” and then “Next: Review”. On the Review section you need to add Name and Description for the Policy. Since we are using the bucket and this policy to apply on G8keeper backups, we call the policy g8keeper-backup-112. Once done please click “Create Policy”
Now we need to create a User and assign the newly created policy to that user.
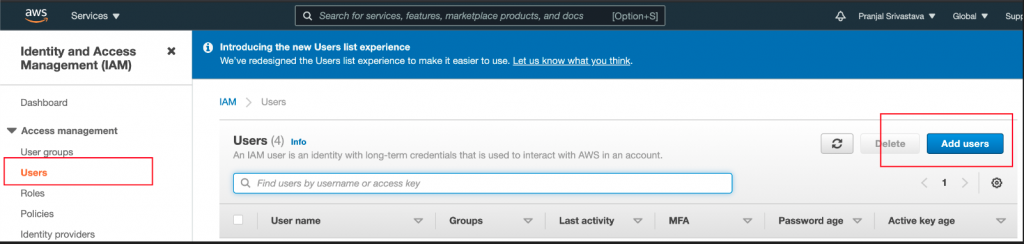
11. Navigate to “Users” link on the left menu and Click on “Add Users” button
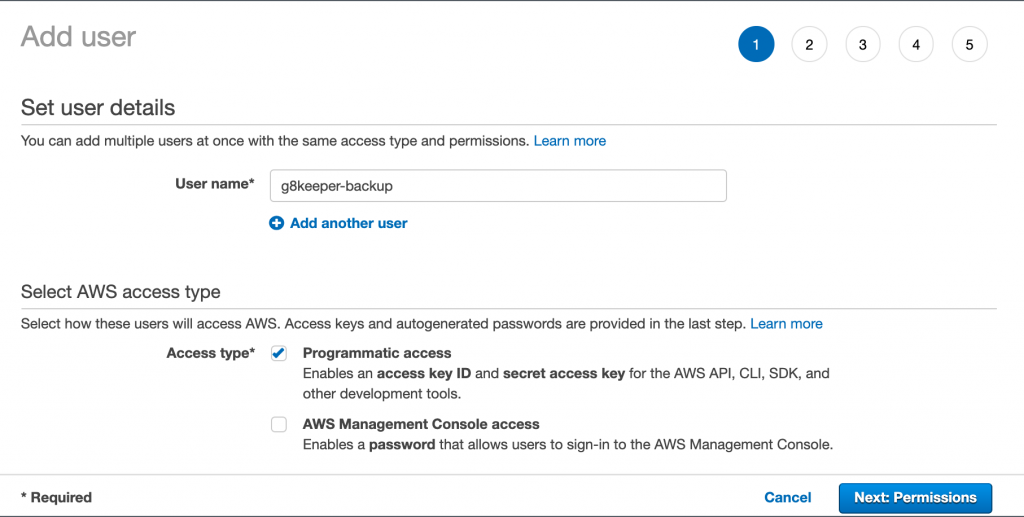
12. On the “Add User” Screen, define a unique name for the user. We shall use “g8keeper-backup” and check the checkbox for “Programatic Access” and then click “Next”
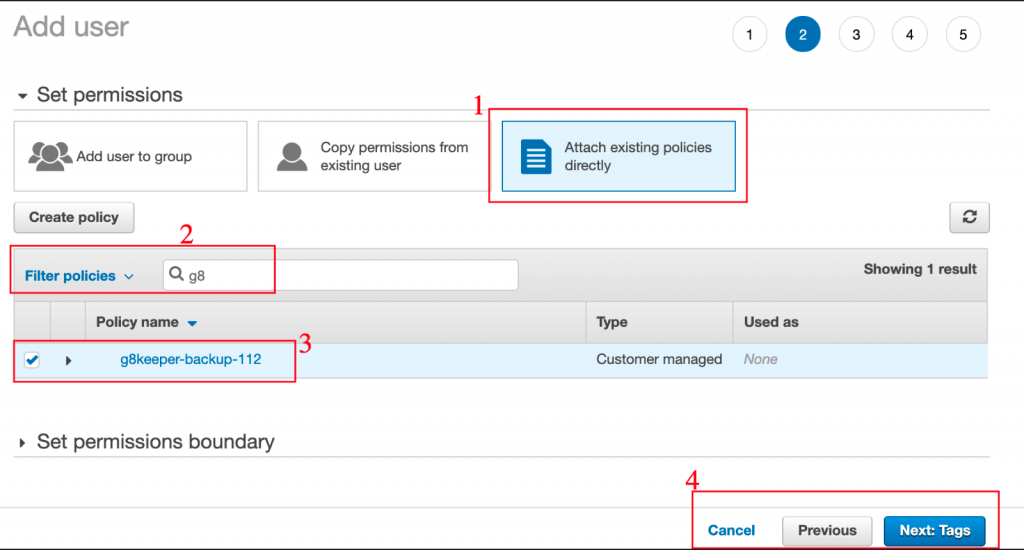
13. On the Permissions tab, select “Attach existing policies directly” and in the search box below type the name of policy we just created in step #10. Then select that policy when it shows in the list. Once this is done select Next:Review and then Create User
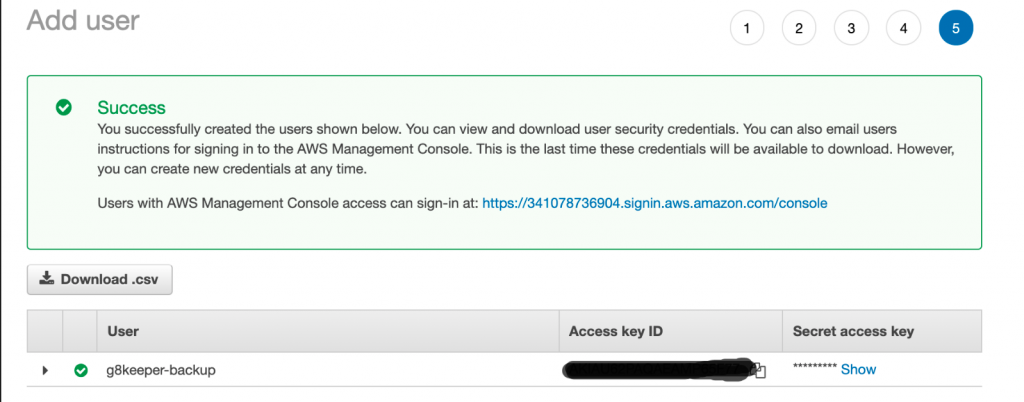
14. This will successfully create the user, note the Access key ID and view and save the Secret access key. You will need this for setting up S3 in G8keeper.
15. Now we need to find the code for the region in which the bucket was created. Follow this link and locate the required region code in the “Region” column next to the “Region Name” column, the value which must correspond to the region in which you created the bucket created.
In my case we used US West (Oregon) (see step #3), so the code corresponding to that is “us-west-2”
Configure AWS S3 bucket with G8keeper
16. Now we just need to configure Dropbox app with G8keeper and we are all set. For that navigate to “Backup tab” on “Server settings” section in G8keeper
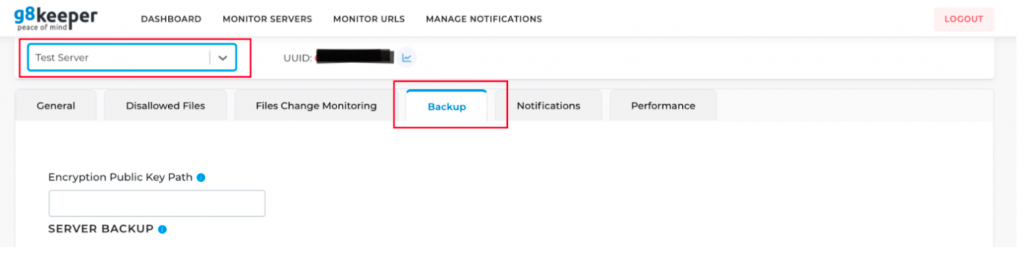
17. Navigate to “Backup upload path” Section on this page. Select “Path type” as “S3” and update the “Bucket Name” field with the name of the bucket which in our case is “g8keeper-backup-112”. Then set Access key, Secret code and Region name as per the details we collected above.
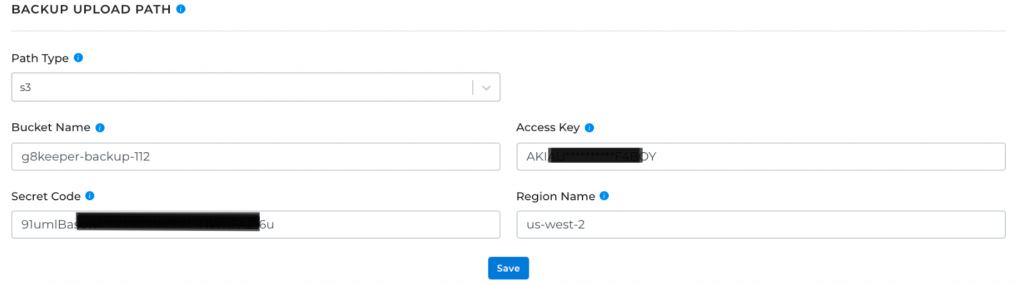
18. Once this is done, click “Save” to save the settings and we are all set. You will see backups seamlessly getting saved in AWS S3.